Picamera realtime high fps processing

A key element to good motion capture is a high capture rate. We'll look at how we can capture high frame rates while having CPU power remaining for further processing.
Camera modes
The Raspberry Pi camera module v2 can capture higher frame rates than the v1 module. The drawback however is that only a part of the frame is capture, partial field of view (partial FoV).
Here are the camera modes that can capture high frame rates:
| Mode | Resolution | Aspect ratio | Max FPS | FoV |
|---|---|---|---|---|
| 4 | 1640x1232 | 4:3 | 40 | Full |
| 6 | 1280x720 | 16:9 | 90 | Partial |
| 7 | 640x480 | 4:3 | 90 | Partial |
For the full list of options please see the picamera modes documentation.
Preferably we want to get a very high frame rate with the highest resolution and field of view. But the v2 module is forcing us to compromise.
Mode 4 has full field of view, but the frame rate is to low for the motion capture experiment. The two remaining modes can capture at high frame rates at the cost of field of view. Given the higher resolution mode 6 is preferable, but the question is whether we can actually capture and process these high framerates.
Rapid capture and processing
Most examples for the Pi camera module focus on capturing still on post process
To separate a marker from the rest of the image, we are not really concerned with the full RGB image. If we only use luminance, and can see distinguish bright from dark areas we should be good to go.
Luminance still
This stack overflow answer illustrates a method to do just that. We'll use this approach to capture up to 90 fps for a partial FoV with camera mode 6. But first let's try to capture a single image conserving only the luminance value.
The trick is to capture a still in yuv (YUV420) format and keep the `y' data while throwing away the "u" and "v" data for each pixel.
Details on how to achieve this is in the Picamera documentation.
The camera will capture in 32x16 blocks which means the actual frame size may be a bit larger than the desired resolution. We get around that by capturing the larger frame and cropping to the desired resolution.
The following code will capture a still and write the results to an image file on disk:
# python3
# based on https://raspberrypi.stackexchange.com/questions/58871/pi-camera-v2-fast-full-sensor-capture-mode-with-downsampling/58941#58941
import time
import picamera
import numpy as np
from PIL import Image

RESOLUTION = (1640, 1232)

# Calculate the actual image size in the stream (accounting for rounding
# of the resolution)
# Capturing yuv will round horizontal resolution to 16 multiple and vertical to 32 multiple
# see: https://picamera.readthedocs.io/en/release-1.12/recipes2.html#unencoded-image-capture-yuv-format
fwidth = (RESOLUTION[0] + 31) // 32 * 32
fheight = (RESOLUTION[1] + 15) // 16 * 16
print(f'frame size {fwidth}x{fheight}')

with picamera.PiCamera(
        sensor_mode=4,  # 1640x1232, full FoV, binning 2x2
        resolution=RESOLUTION,
        framerate=40
) as camera:
    print('camera setup')
    camera.rotation = 180
    time.sleep(2)  # let the camera warm up and set gain/white balance

    print('starting capture')
    y_data = np.empty((fheight, fwidth), dtype=np.uint8)
    try:
        camera.capture(y_data, 'yuv')  # YUV420
    except IOError:
        pass
    y_data = y_data[:RESOLUTION[1], :RESOLUTION[0]]  # crop numpy array to RESOLUTION
    # y_data now contains the Y-plane only

    print('convert to Pillow image')
    im = Image.fromarray(y_data, mode='L')  # using luminance mode

    print('saving...')
    im.save('test.jpg')
    im.save('test.bmp')

print('done')
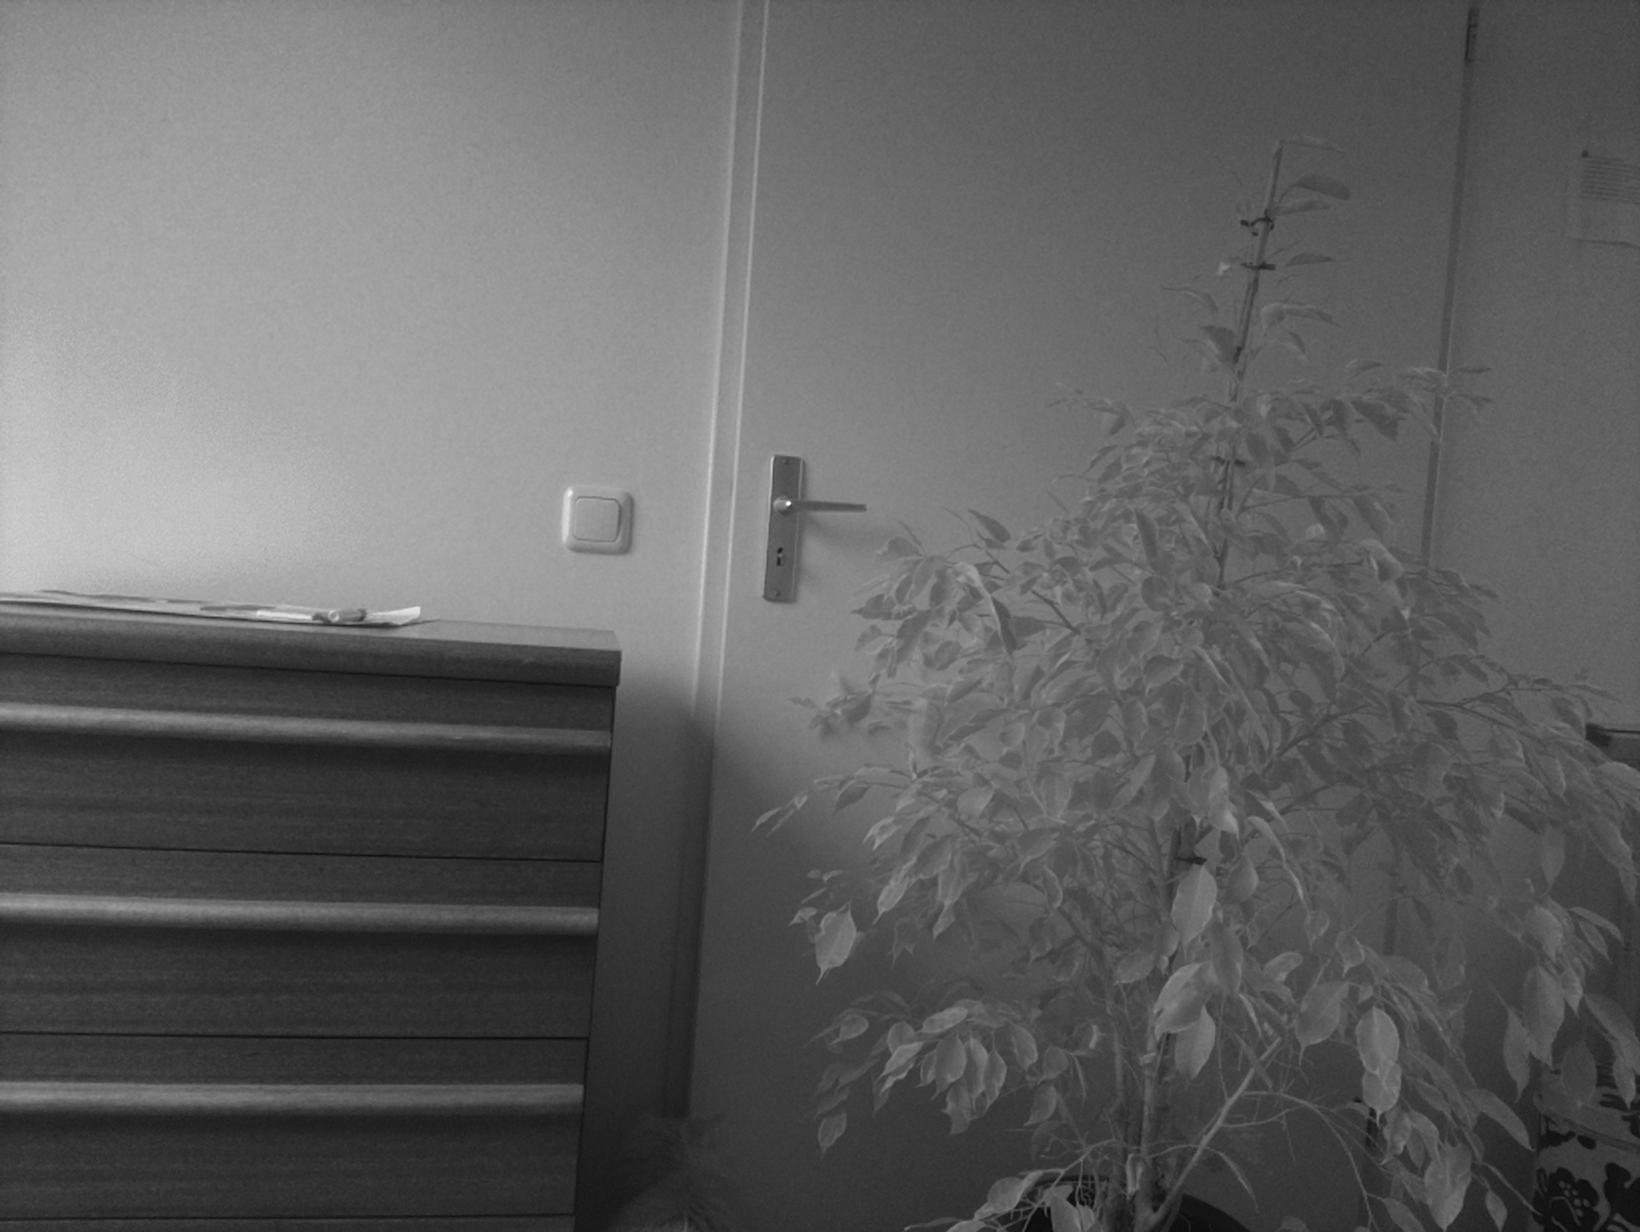
The resulting image is as follows:
Video
To record video we perform the same YUV format capture but with start_recording.
See this gist for the full code.
I tried recording for different modes and resolutions, the results are as follows:
| Mode | Resolution | Advertised FPS | Target FPS | Actual FPS | CPU usage (max is 400%) | FoV | Note |
|---|---|---|---|---|---|---|---|
| 4 | 1640x1232 | 40 | 40 | 28 | 40% | Full | |
| 4 | 820x616 | 40 | 40 | 40 | 20% | Full | 2x downscaling by GPU |
| 4 | 820x616 | 40 | 200 | 40 | 20% | Full | |
| 6 | 1280x720 | 90 | 90 | 38 | 37% | Partial | |
| 6 | 1280x720 | 90 | 120 | 34 | 32% | Partial | FPS drops when targeting higher FPS |
| 6 | 1280x720 | 90 | 200 | 34 | 35% | Partial | |
| 7 | 640x480 | 90 | 90 | 90 | 10% | Partial | |
| 7 | 640x480 | 90 | 120 | 115 | 14% | Partial | |
| 7 | 640x480 | 90 | 200 | 72 | 10% | Partial | FPS drops when targeting higher FPS |
| 7 | 100x100 | 90 | 200 | 160 | 8% | Partial |
I ran the tests on a Raspberry Pi 4 with the official V2 camera module.
Note that the CPU load measurements are me manually determining an average from htop readings.
No need to have super accurate CPU load measurements for this test.
The readings clearly show that we can only get 90 or more frames per second in mode 7. So for the motion capture application I'll be using that mode. It's to bad that mode 6 did not work, since that resolution would have been much better. I'm guessing this is a limitation of the hardware, but it may well be either my coding or a flaw in this approach. I'll try the method documented in the picamera docs at a later time and see if the results are any better. If that doesn't work switching to a performance oriented programming language might help.
Also a thing to note is that we can go above the advertised 90 fps. With the mode 7 base resolution we can almost get up to 120fps and beyond.
Finally when setting the start_recording frame rate to high, the actual fps will drop very significantly.
This is quite unexpected behaviour which I'm unable to explain at this moment.
Again this may be do the method I'm using or it might just be some quirk in the library.
Concluding
We can get high frame rates out of the V2 module on the Pi 4. Mode 7 allows for 90+ fps at a quite low resolution of 640x480. And with only about 15% of a single CPU used by this script leaves plenty of room for further processing. The mode only captures part of the frame which will be a problem for nearby objects. This may likely be remedied by using a lens that increases the initial field of view. So, of course, further research is needed...
Related
This post is part of the project Raspberry Pi marker detection
- Next post: Modifying security camera IR LED ring
- Previous post: Raspberry Pi NoIR camera marker tracking